

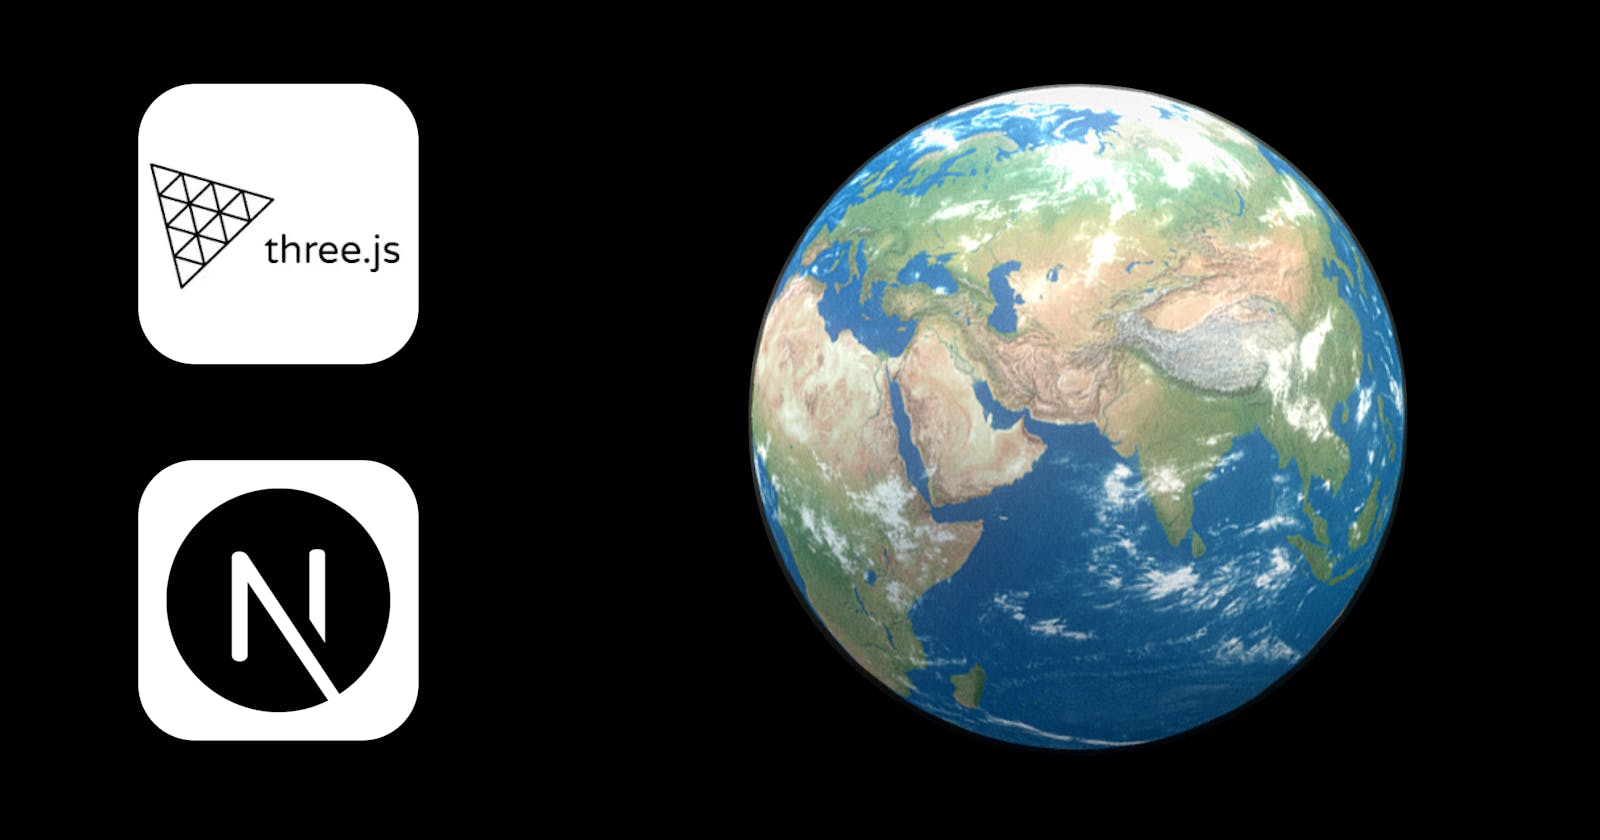
Render a 3D Model in the Browser with Three.js and Next.Js


In this blog, we will learn how to render a 3D model in the browser with 360o view using Three.js and Next.Js.
💡 What is Three.js?
 In short, Three.js is a JavaScript library used to create and display 3D graphics in your web browser using WebGL and JavaScript as a part of the website.
You can check the documentation of Three.js from here.
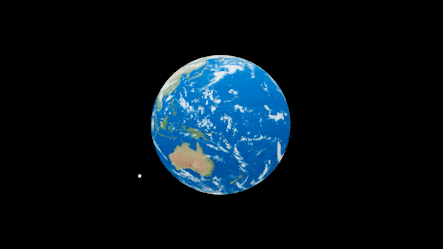
🌏 The Model
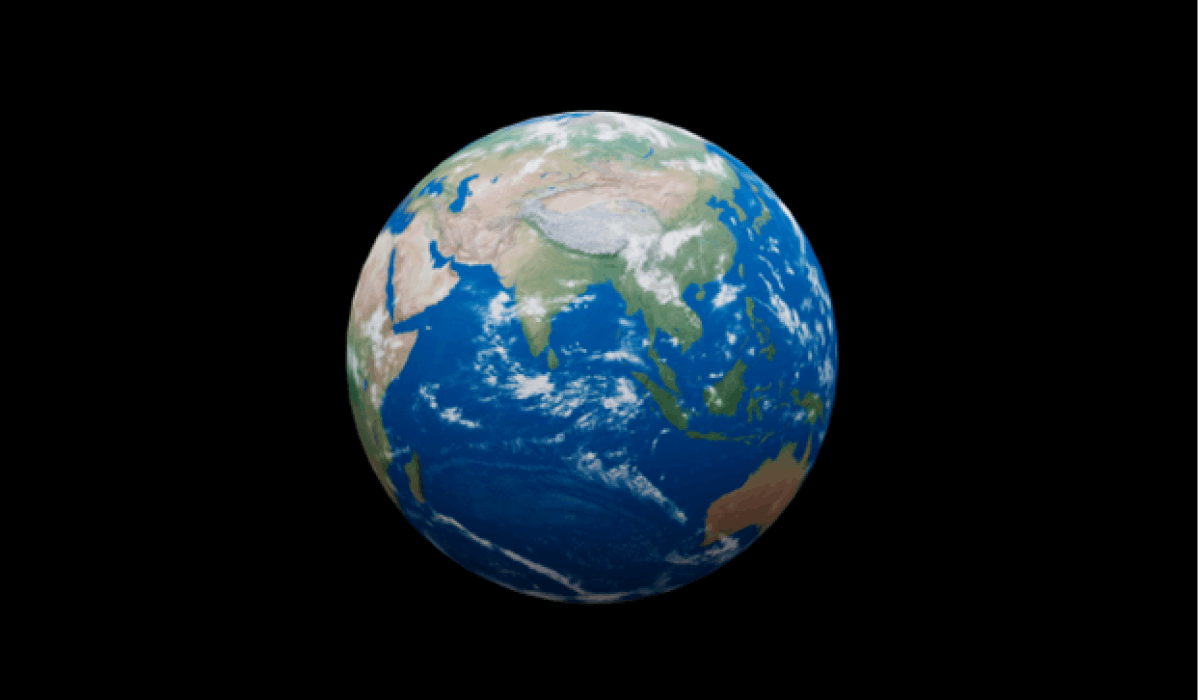
There are various websites from where you can download free and paid 3D models. For the demo, we are using a 3D model of Earth made by Akshat and can be found on sketchfab. Here we are using the glTF format of a 3D model due to less size and efficiency. You can also use another format such as GLB or FBX.
Now we have our 3D model with us, let's start building the project.

⚙ Basic setup
Let's first create a Next App.
npx create-next-app threejs-example
Download the 3D model and place it inside the public folder.
After this now let's install some dependencies.
npm install three @react-three/fiber @react-three/drei
React Three Fiber helps you to build your scene declaratively with re-usable, self-contained components that react to state, are readily interactive, and can tap into React's ecosystem.
@react-three/drei is a valuable helper which provides us ContactShadows, Environment, and OrbitControls for react-three-fiber.
🛠 Loading model
Now we have all the dependencies installed let's go to index.js, remove other code, and import all the required dependencies
import Head from 'next/head'
import { Suspense } from "react"
import { Canvas, useLoader } from "@react-three/fiber"
import { Environment, OrbitControls } from "@react-three/drei"
import { GLTFLoader } from "three/examples/jsm/loaders/GLTFLoader"

export default function Home() {
  return (
    <div>
      <Head>
        <title>Three.js Example</title>
        <meta name="description" content="Generated by create next app" />
        <link rel="icon" href="/favicon.ico" />
      </Head>

      <div className="globe">
        Hello World
      </div>

    </div>
  )
}
Now let's use the useLoader function to load the 3D model.
const Model = () => {
  // location of the 3D model
  const gltf = useLoader(GLTFLoader, "/earth/scene.gltf");
  return (
    <>
      {/* Use scale to control the size of the 3D model */}
      <primitive object={gltf.scene} scale={0.01} />
    </>
  );
};
Now use the render the 3D model
function App() {

    return (
      <div className="globe">
        <Canvas shadows dpr={[1, 2]} camera={{ position: [0, 0, 4], fov: 50 }}>
          <Suspense fallback={null}>
            <Model />
            {/* To add environment effect to the model */}
            <Environment preset="city" />
          </Suspense>
        </Canvas>
      </div>
    );

}

export default App;
Canvas: The Canvas object is where you start to define your React Three Fiber Scene.
shadows: The shadows prop is used to add shadows to the 3D model.dpr: The dpr prop is used to adjust the pixel value.camera: The camera prop is used for perspective projection. This projection mode is designed to mimic the way the human eye sees.fov: The fov is the "Field of View" for the 3D model.
Complete code till now:
import Head from 'next/head'
import { Suspense } from "react"
import { Canvas, useLoader } from "@react-three/fiber"
import { Environment, OrbitControls } from "@react-three/drei"
import { GLTFLoader } from "three/examples/jsm/loaders/GLTFLoader"

const Model = () => {
  const gltf = useLoader(GLTFLoader, "/earth/scene.gltf");
  return (
    <>
      <primitive object={gltf.scene} scale={0.01} />
    </>
  );
};

export default function Home() {
  return (
    <div>
      <Head>
        <title>Three.js Example</title>
        <meta name="description" content="Generated by create next app" />
        <link rel="icon" href="/favicon.ico" />
      </Head>

      <div className="globe">
        <Canvas shadows dpr={[1, 2]} camera={{ position: [0, 0, 4], fov: 50 }}>
          <Suspense fallback={null}>
            <Model />
            <Environment preset="city" />
          </Suspense>
        </Canvas>
      </div>

    </div>
  )
}
And now, let's add some CSS, so go to /styles/global.css and add some styling:
html,
body {
  padding: 0;
  margin: 0;
  background-color: black;
}

.globe {
  display: grid;
  place-items: center;
  height: 100vh;
  cursor: grabbing;
}
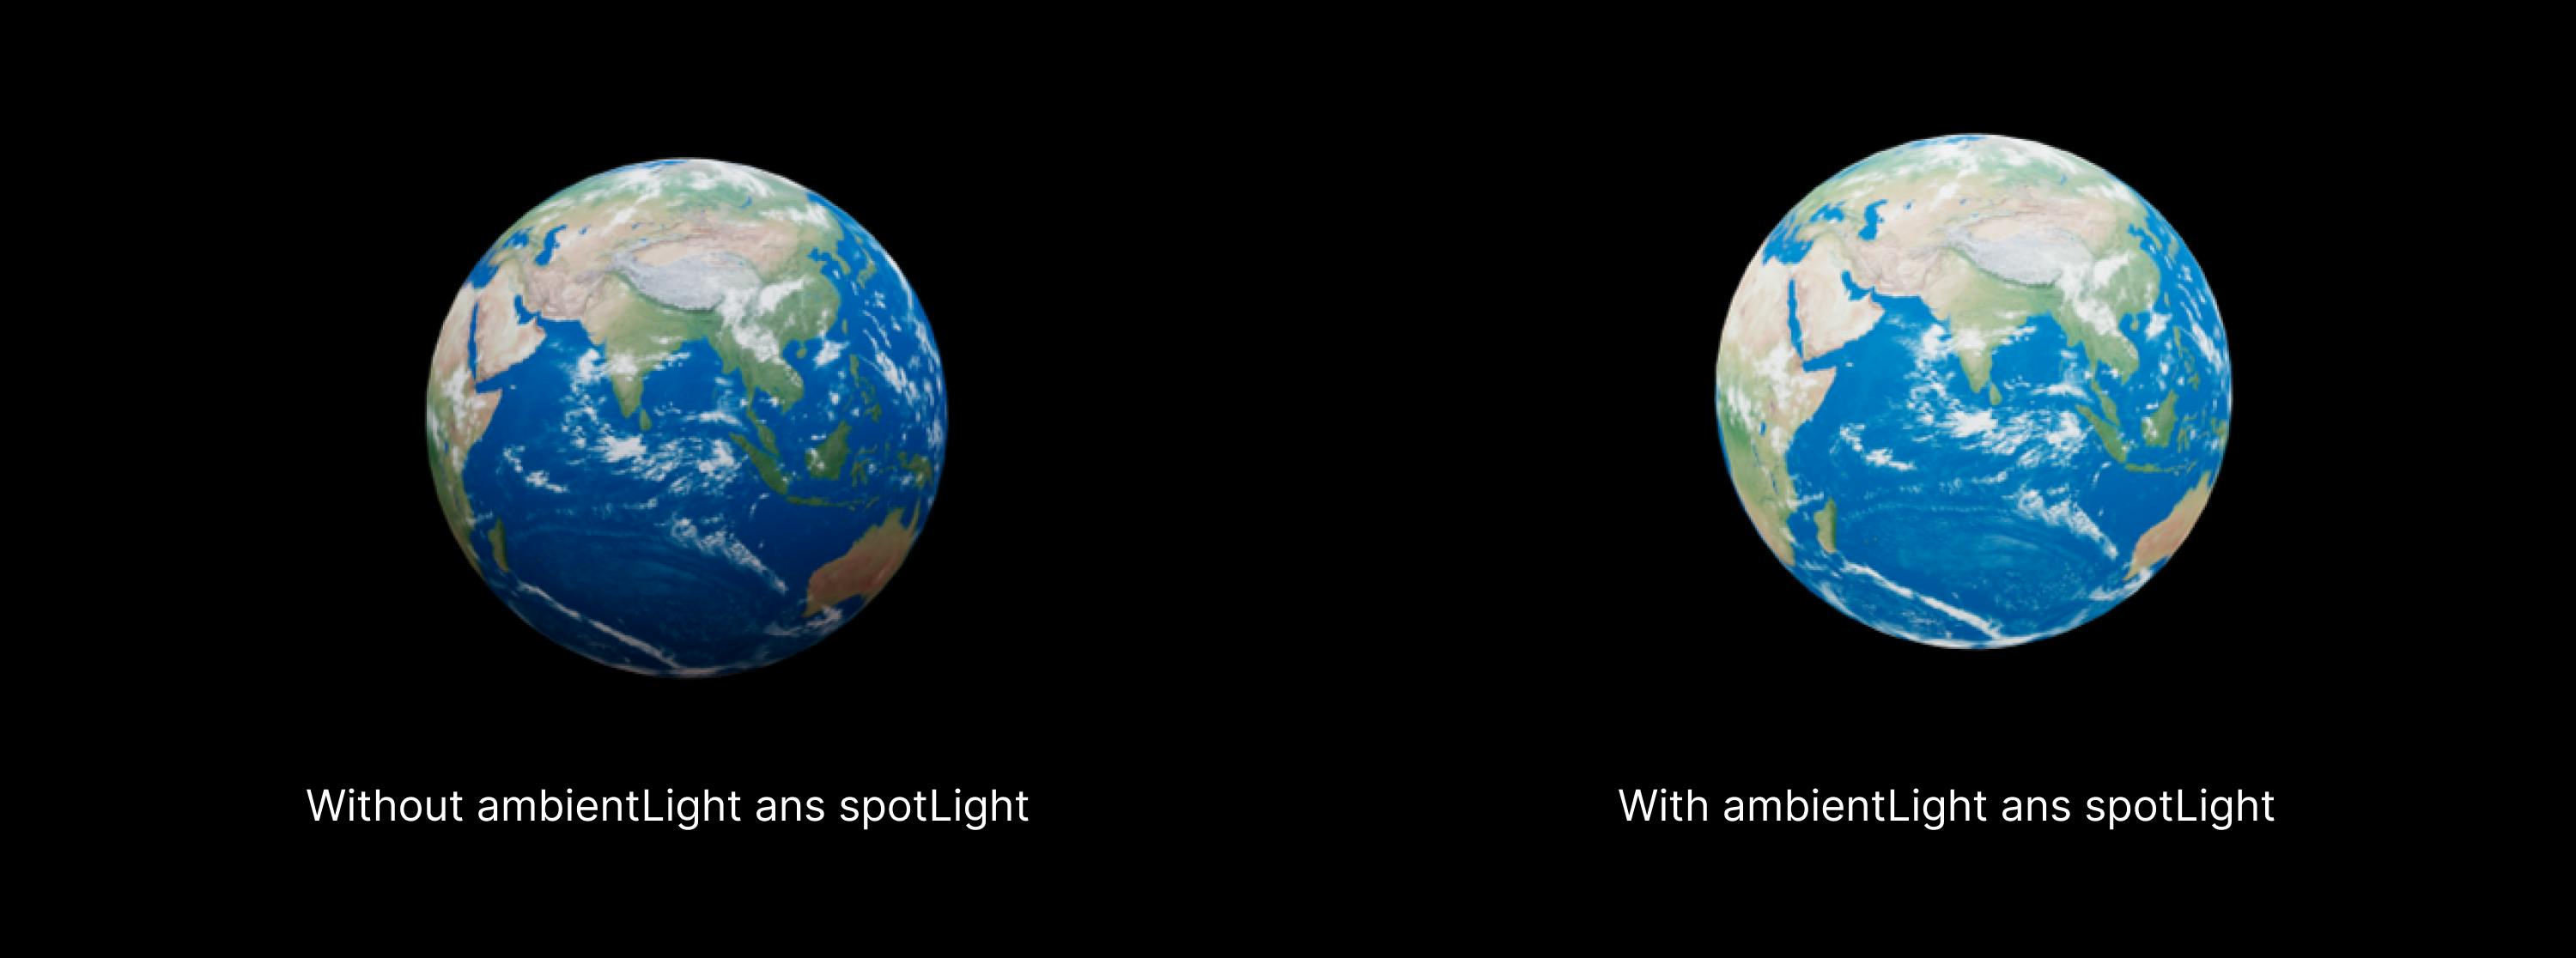
🔦 The lightning
Now let's add some light to the model.
<Canvas shadows dpr={[1, 2]} camera={{ position: [0, 0, 4], fov: 50 }}>
          <ambientLight intensity={0.7} />
          <spotLight intensity={0.5} angle={0.1} penumbra={1} position={[10, 15, 10]} castShadow />
          <Suspense fallback={null}>
            <Model />
            <Environment preset="city" />
          </Suspense>
</Canvas>
ambientLight: This light globally illuminates all objects in the scene equally. This light cannot be used to cast shadows as it does not have a direction.
spotLight: This light gets emitted from a single point in one direction, along a cone that increases in size the further from the light it gets.
For reference here is the result before adding lightning and after adding it.
🎮 Orbit controls
Now let's allow the user to control the orbit of the 3D model. Orbit controls will enable the camera to orbit around a target.
<Canvas shadows dpr={[1, 2]} camera={{ position: [0, 0, 4], fov: 50 }}>
          <ambientLight intensity={0.7} />
          <spotLight intensity={0.5} angle={0.1} penumbra={1} position={[10, 15, 10]} castShadow />
          <Suspense fallback={null}>
            <Model />
            <Environment preset="city" />
          </Suspense>
          <OrbitControls autoRotate />
</Canvas>
Complete code:
import Head from 'next/head'
import { Suspense } from "react"
import { Canvas, useLoader } from "@react-three/fiber"
import { Environment, OrbitControls } from "@react-three/drei"
import { GLTFLoader } from "three/examples/jsm/loaders/GLTFLoader"

const Model = () => {
  const gltf = useLoader(GLTFLoader, "/earth/scene.gltf");
  return (
    <>
      <primitive object={gltf.scene} scale={0.01} />
    </>
  );
};

export default function Home() {
  return (
    <div>
      <Head>
        <title>Three.js Example</title>
        <meta name="description" content="Generated by create next app" />
        <link rel="icon" href="/favicon.ico" />
      </Head>

      <div className="globe">
        <Canvas shadows dpr={[1, 2]} camera={{ position: [0, 0, 4], fov: 50 }}>
          <ambientLight intensity={0.7} />
          <spotLight intensity={0.5} angle={0.1} penumbra={1} position={[10, 15, 10]} castShadow />
          <Suspense fallback={null}>
            <Model />
            <Environment preset="city" />
          </Suspense>
          <OrbitControls autoRotate />
        </Canvas>
      </div>

    </div>
  )
}
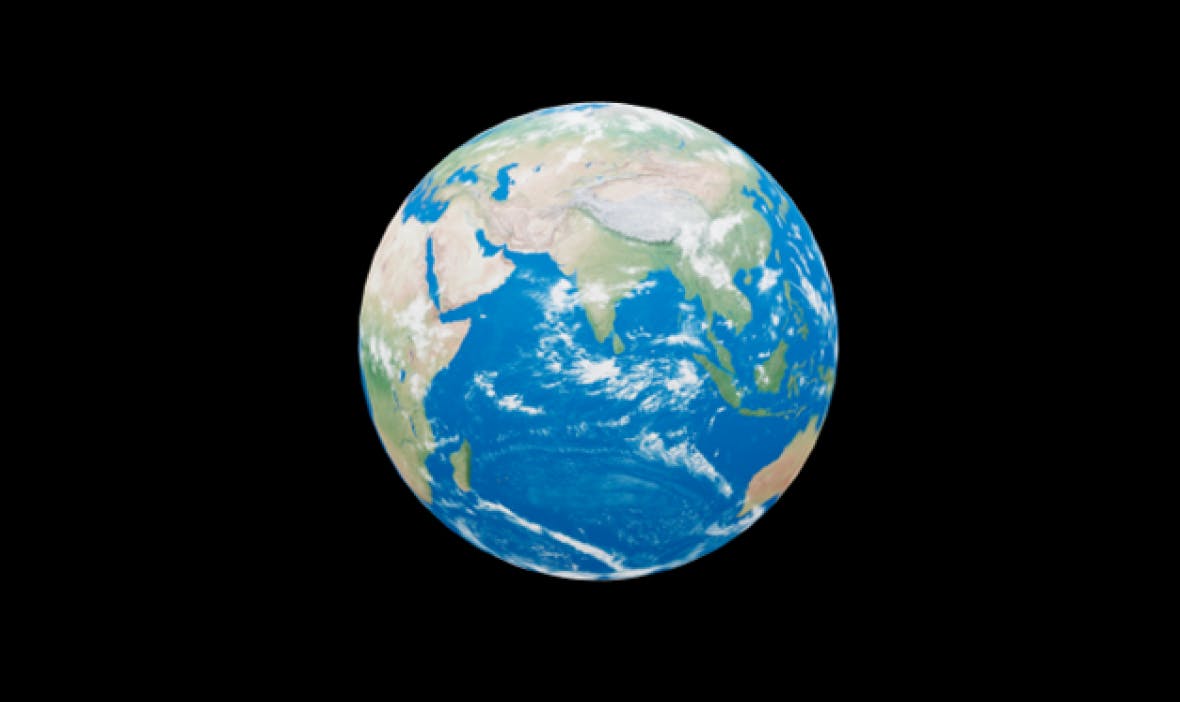
🥇 Final result
🤝 Conclusion
Three.js is a powerful JavaScript library through which you can do wonders. You can also make 3D models using Three.js. You can find the complete source code on GitHub.

Thank you.